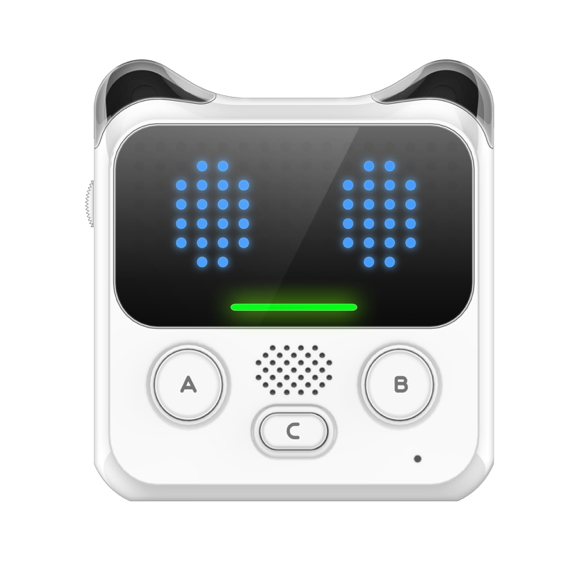
How to Make Codey Rocky Read Colors
codey rocky +mblock v Quick Start Guide
Document Version:v1.one
Date:2018/2/2
Written by:Breloom
Support softwware and version:mblock5 Blastoff.8
Download
For the latest version, please go to the following website:
http://www.mblock.cc/software/mblock/mblock5/
Interface and Glossary
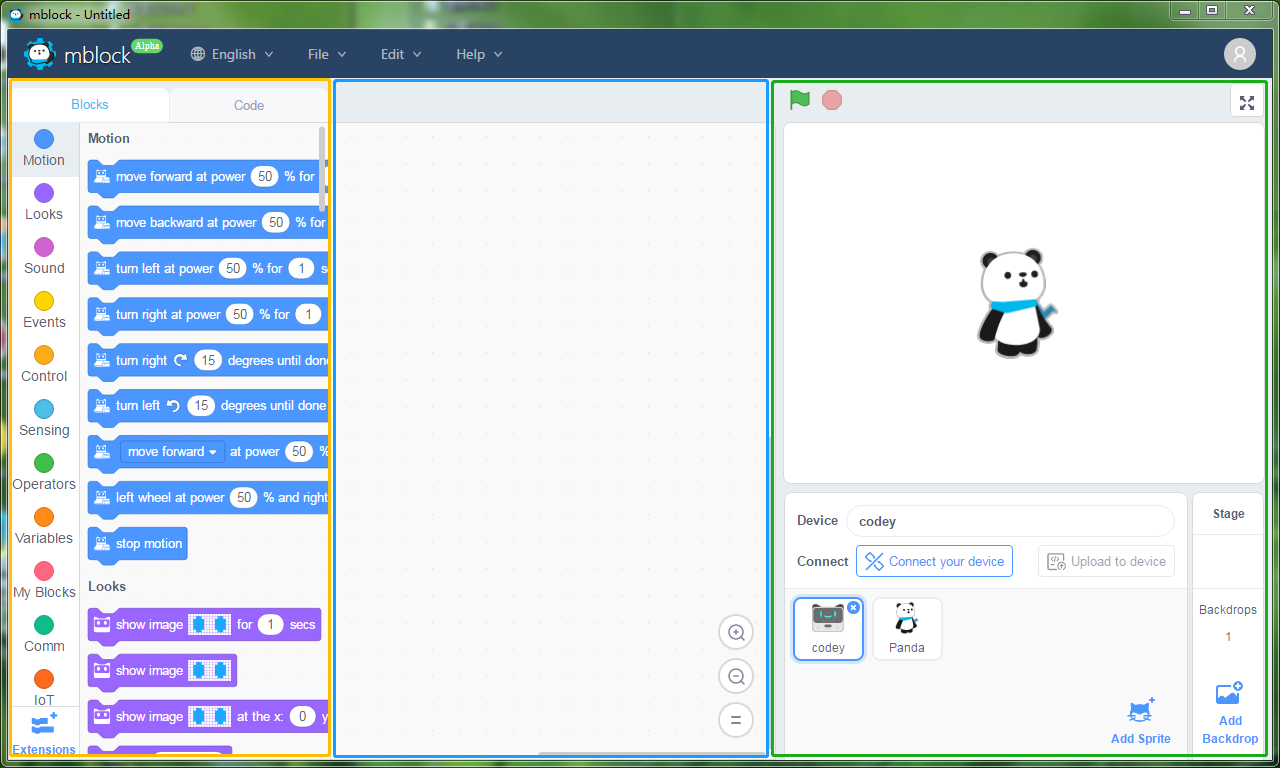
Blocks Area ,Scripts Area,Stage Area
-
Blocks Area: An area where blocks available for programming are provided. You can find whatsoever blocks that you need by category and color.
-
Scripts Area: An area where blocks tin be dragged here to write programs.
- Stage Area: In this area, you can display your works, connect the device, upload to the device, add sprites and backgrounds, etc.
Examples Programs
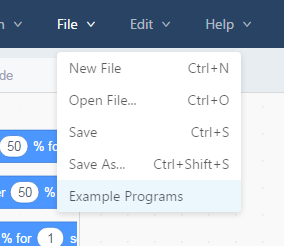
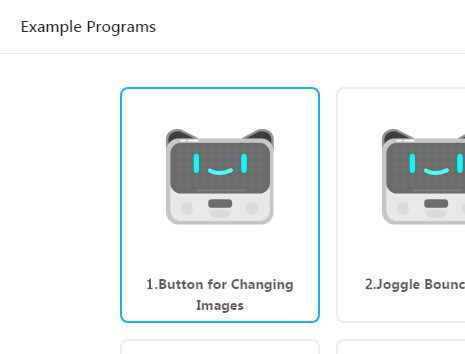
Alpha.8 has 12 new examples programs. Some of the projects in this certificate can be plant in Examples Programs as well.
Connect Device
First, power on your codey. Next, connect the codey with a calculator via the USB cablevision or the Bluetooth adapter.
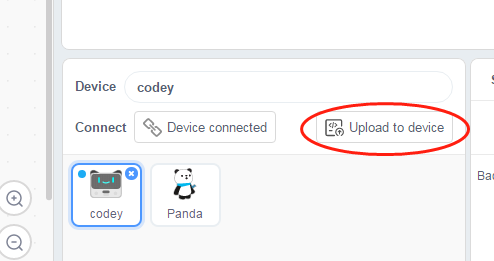
- Outset the software mblock. Click Connect Device.

- Click Connect.
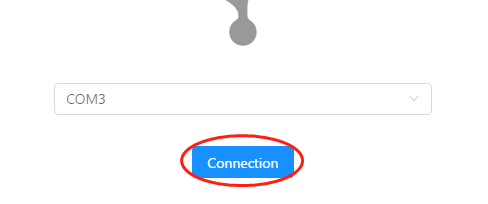
Notation: The COM3 here refers to the serial port number and it might vary from unlike systems and computers. Anyway, you tin can merely click Connect.
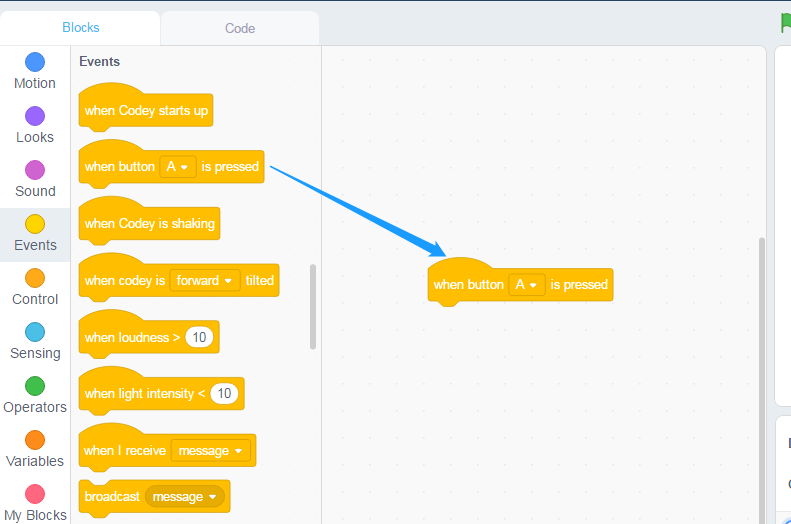
1. Start with your First Project (Beginner)
- Drag an Events Block to the Scripts Area.
- Add a Audio Block and select a sound issue.
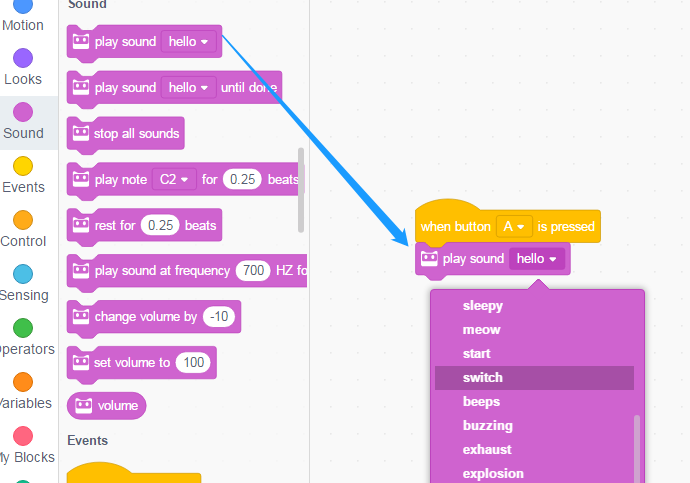
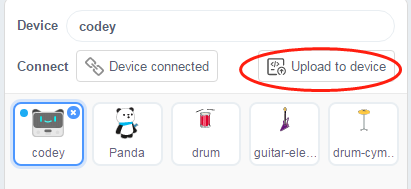
- Click Upload to Device.
Press the Button A on codey and you will hear some sounds from codey.
- Add the image block. You can choose the paradigm by default, or you can draw up an paradigm you lot like with your mouse.
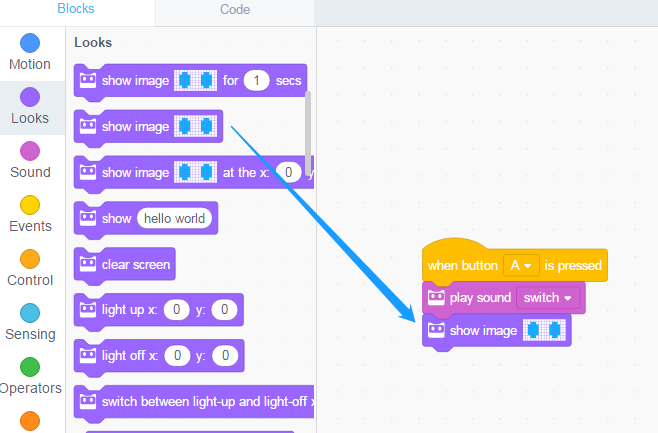

- Permit's depict up more images and control them with Button A, B, C.
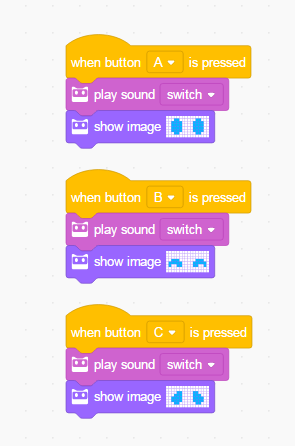
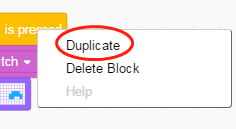
Tip: You tin can right-click the blocks to duplicate the scripts and correct-click in the bare Scripts Surface area to rearrange all the blocks.
-
Upload the program to device and save the programme.

-
Final footstep! Show your project to friends and families!
2.Make an Animation: Joggle Bouncy Balls (Beginner)
In this project, you volition learn how to make an animation with codey and how to trigger it in a funny way:
- The following cake is needed in this project:
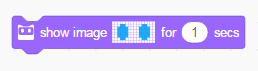
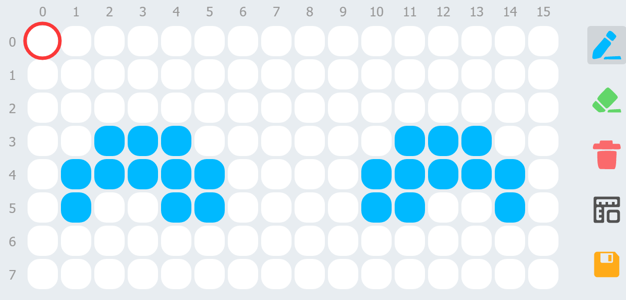
- Open a New File. Then, draw a floppy ball. Arrive just look similar lie on the floor.

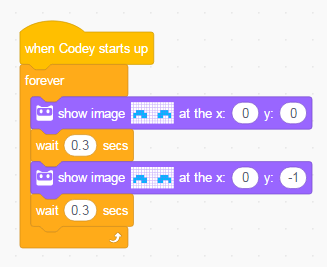
- Keep on. Now, draw a ball that bounces up. Then, snap together this cake and the sometime 1, and ready time to 0.iii sec.

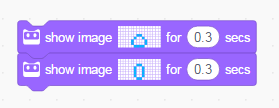
- Keep to finish the image. Draw upwardly the entire process of bouncy ball from bouncing up to landing.
- Add together a sound and a trigger effect.
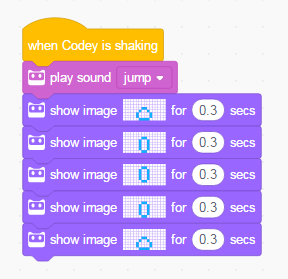
- Upload the program and shake codey. Now, what is happening?
By tying codey to your body, you can find that the boisterous ball will bounciness upward equally you lot jump upwards.
Tips: i. You lot can use dissimilar Events to trigger the blitheness. two. You lot can change the animation speed by adjusting the time duration.
3.Execute Simultaneously: Alarm (Beginner)
A combination of the blocks can only serves as a script. Every bit for codey, it tin can execute six scripts at nigh simultaneously. 。
This program includes two scripts. 1 script is designed to make codey echo the sound and some other script is to brand codey flash on and off, on and off...
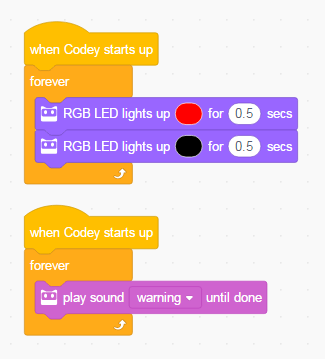
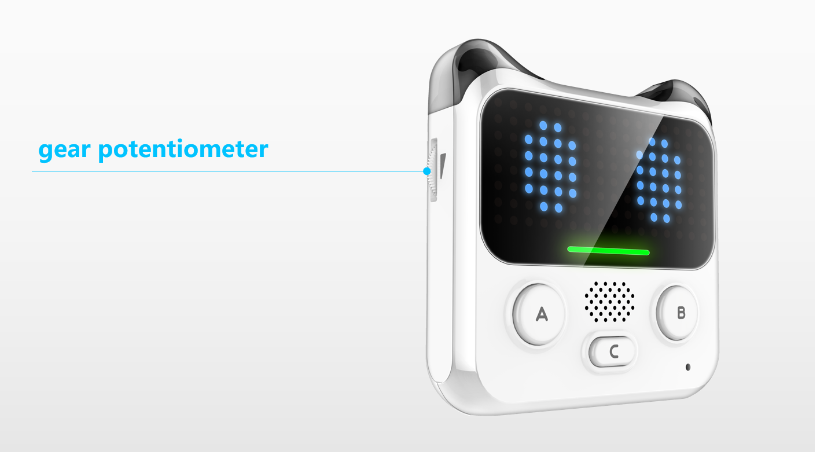
Tip: You can add i more scripts to control volume of codey with the gear potentiometer.
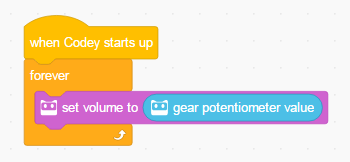
Notation: You can discover the gear potentiometer on the side of codey.
- This demo uses the following blocks

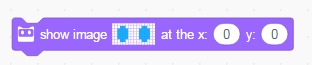
Yous can use this cake to display the images at whatever specified coordinate positions. To get the accurate coordinate, please refer to the top left-corner of the image.
Tip: Open the Prototype Editor. Just click on the icon "
" to show the coordinates.
- Try the following script and check how the programme works.
five.Variable and Coordinate-Running Rabbit (Avant-garde)
Thanks Ekime for cartoon upwardly the rabbit prototype for us and helping the writer finish this projection.
The Variables role can enable the prototype to movement:
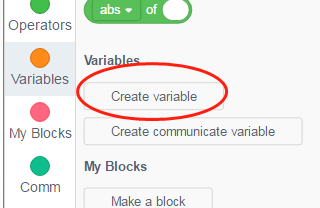
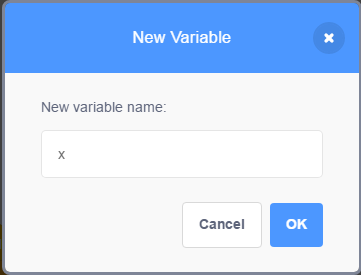
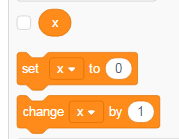
- Create a Variable
In mblock five, you lot can only name variables with Latin messages. Chinese characters are non supported, merely you can name variables with English language letters or pinyin.
- Use the following block to draw upward a rabbit.


- Set the variable to the x coordinate of the image.
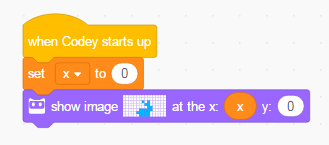
- Add another script where the variable can exist inverse when a push is pressed. You can observe how the image changes and you can discover that the rabbit will move out of the screen if the variable exceeds a certain value.
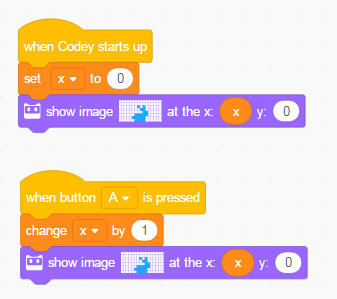
- Now, terminate the script. Rotate the images and alter the coordinates. Look! The rabbit is running!


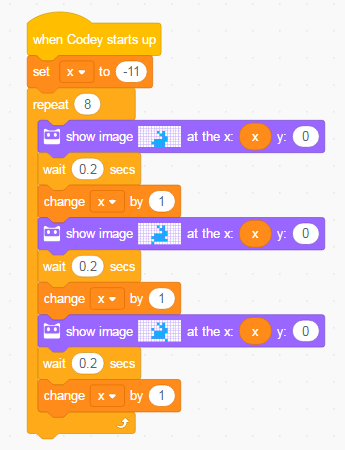
Tip: Indistinguishable the image block and so make some changes of it. In this manner, you can brand an animation with minimal fuss.
codey has sets of sensors and can thus discover environmental changes around, including volume, light, gesture, etc.You can get admission to sensor values in the post-obit two ways:
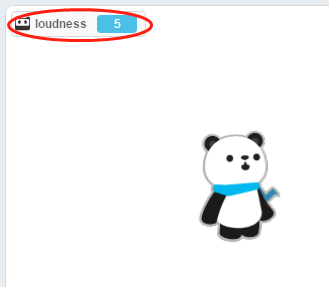
- Please ensure that your device is well connected showtime. Then select the value that yous want to go and evidence it on the Stage.
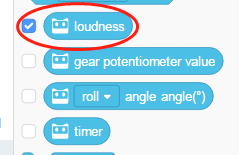
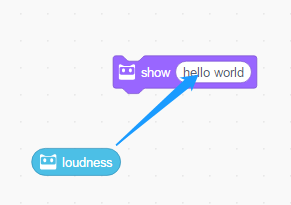
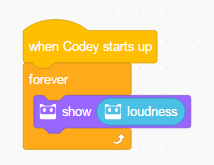
- Yous tin can also use the script every bit beneath and prove the sensor values on the screen of codey.
- Upload the above-mentioned program to the device. Next, make some sounds to codey. Look, the value on the Phase and screen is changing.
Tip: Add a Look block in the Echo block to boring down the value change on the screen.
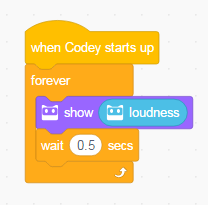
With the prototype coordinate and the sound sensor, you can ensure a dynamic display of the volume on the codey screen:
- Connect the device. Select the Volume block and check for the volume in the electric current surroundings( values may be different in other environments).


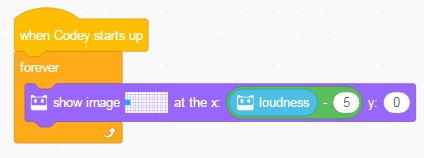
- Apply the following block to draw upwardly a simple image.

- Utilize the arithmetic blocks nether the Operators cake category to get the volume values.


- Finish the plan and upload it. Now you can yell at your codey and check if it works.
Tip: You lot tin regulate the value with the Multiple block while observing the volume alter at the same time.

viii.Avoid Obstacles (Advanced)
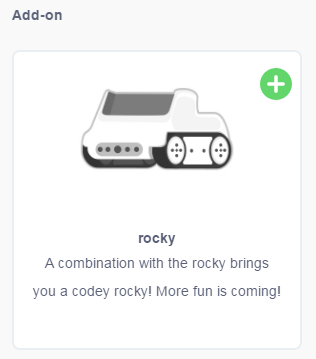
If yous desire to get started with functions of rocky, you need to add the rocky extension in the mblock 5 first.

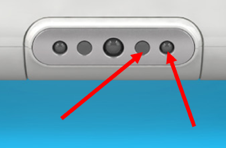
In this project, codey rocky and its sensor will be needed.codey rocky has an IR color sensor that can be switched forrad or downwards. In this projection, you need to switch the IR color sensor frontwards as a way to notice the obstacles in front of codey rocky.

All the blocks for this sensor are tagged with a sensor icon.
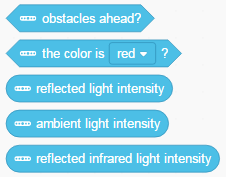
- The following block is needed in this project.
Explanation: If an obstacle tin exist detected in forepart of the IR color sensor, the effect for this block will be "true", otherwise it will exist "false".

Receive IR Send IR
Note: The fundamental principle for obstacles detection lies in the IR reflection. When obstacles detection is nether way: the lighter the colour of object is , the longer the distance is; the darker the color of object is, the shorter the distance is.
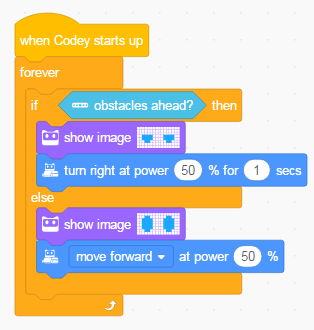
- Finish the following program. You can identify obstacles in front of codey rocky to observe how its face up will change.
- Consummate the program. Ensure that codey rocky will move on when no obstacle is detected, and plow right when obstacles are detected.
The Broadcast part can empower codey to communicate with sprites on the Stage. In this way, you can attain your interactive phase projects:
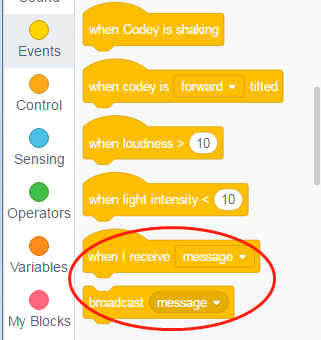
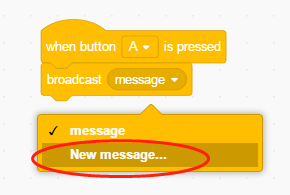
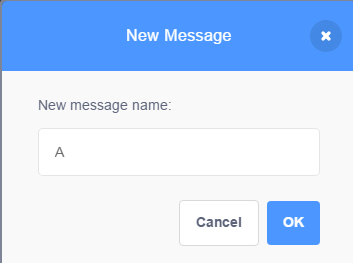
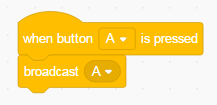
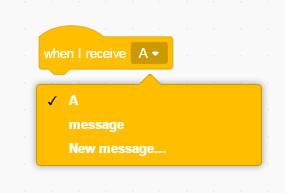
- Create a New Message: When button A is pressed, broadcast A.
- Add a sprite. The new sprite will bear witness up in the Stage Area.
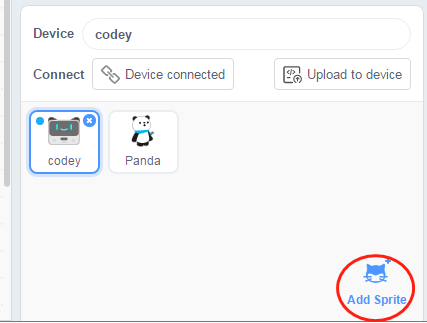
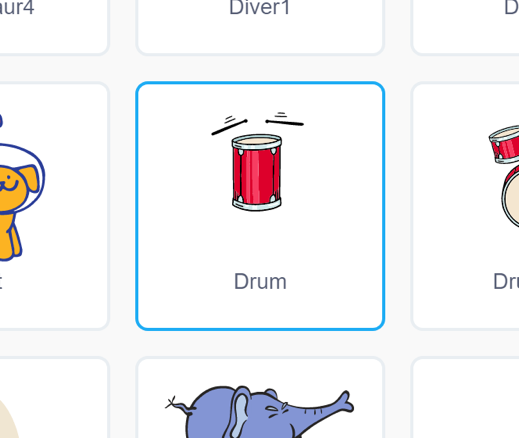
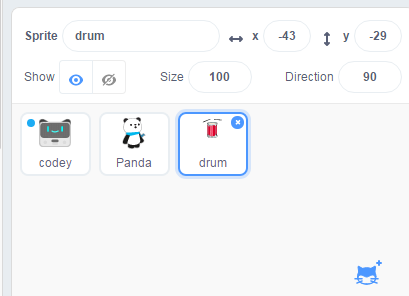
- Click on the new sprite(drum) and make a program for it.
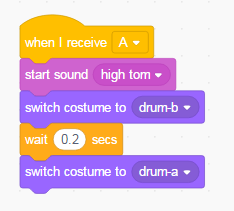
- Click on codey and upload its plan to the device. And then, if you press the button A, you can hear drumbeats from the sprite pulsate on the computer.

- Similarly, y'all can add more than musical instruments sprites. Let'southward have a concert for Panda!

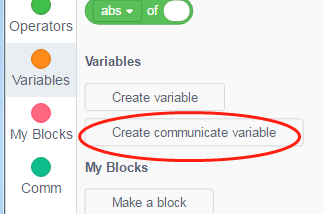
10.Communicate Variable and Gear Potentiometer (Advanced)
The Broadcast function is just 1 option. You can make codey interact with the stage by creating a communicate variable as well.
In this project, you lot can use the gear potentiometer of codey to modify the sprite size:
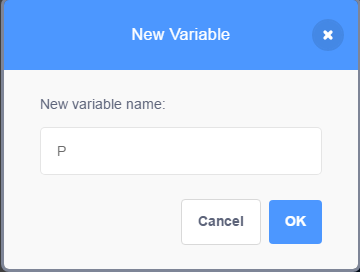
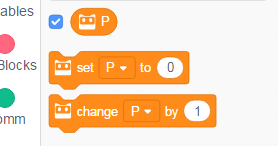
- Create a Communicate Variable
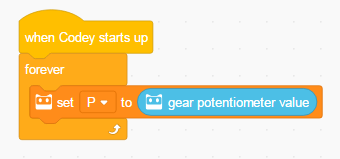
- Set the Communicate Variable to the value of gear potentiometer.
- Click on the sprite Panda and you will notice the communicate variable shows upwardly in the data area besides.
- Ready the sprite size to the communicate variable value.
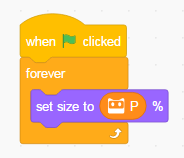
5.Upload the program of codey to the device and click the green flag. Pluck the gear potentiometer and discover how the srite changes.

Want to share with the states your projects and skills? Please visit united states at the official forum of codey rocky:
http://forum.makeblock.com/
Source: https://docs-for-mk.readthedocs.io/
0 Response to "How to Make Codey Rocky Read Colors"
Post a Comment